
The concept of protein-enriched desserts gained popularity in the health-conscious movement of the early 2000s, as people sought ways to indulge their sweet tooth while maintaining nutritional balance. Mini cheesecakes themselves have roots in European pastry traditions, where individual servings were often prepared for elegant gatherings. The combination of these two ideas created a dessert that bridges the gap between indulgence and wellness, offering the rich experience of cheesecake with the nutritional benefits of added protein. This evolution reflects our modern desire for foods that nourish both body and soul.
Why You'll Love It
-
Each mini cheesecake packs a protein punch to keep you satisfied
-
Perfect portion control - no temptation to overindulge
-
Gluten-free crust made from wholesome ingredients
-
Creamy texture that feels truly indulgent
"I can't believe these are healthy! They taste just like real cheesecake but I feel so much better after eating them."
Essential Ingredient Guide
- Cream cheese: Use full-fat for the creamiest texture, but reduced-fat works too. Make sure it's softened to room temperature so it blends smoothly without lumps.
- Vanilla protein powder: Choose a quality powder that mixes well and doesn't have a chalky aftertaste. This is where most of the protein boost comes from.
- Greek yogurt: Adds tanginess and extra protein while keeping the filling light. Plain works best to control sweetness.
- Almond flour: Creates a nutty, gluten-free crust that's sturdy enough to hold the filling but still tender to bite into.
- Lemon juice: Just a touch brightens all the flavors and cuts through the richness of the cream cheese.
- Honey or maple syrup: Natural sweeteners that add flavor depth beyond just sweetness. Adjust to your taste preference.
 Sweet Treats & Desserts
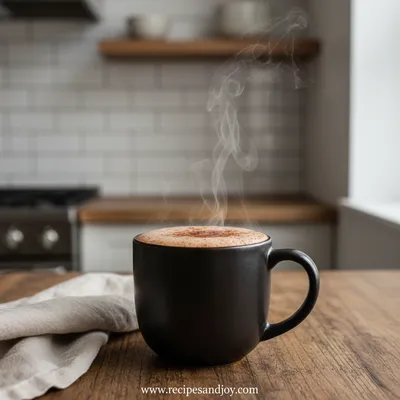
Healthier Hot Chocolate Recipe
Learn how to make a delicious healthier hot chocolate that's perfect for a cozy warm beverage.
Complete Cooking Process
-
Ingredient Readiness:
Everything needs to be at room temperature - the cream cheese especially. Cold cream cheese will leave lumps no matter how long you mix it. I learned that the hard way one rushed afternoon when I was trying to whip these up too quickly.
-
Flavor Development:
The flavors really come together during mixing. The protein powder needs time to hydrate and blend seamlessly with the cream cheese and yogurt. When you taste the batter, it should be smooth with no graininess.
-
Texture Control:
The water bath is key for that classic creamy cheesecake texture. It keeps the oven moist so the tops don't crack and the centers stay silky rather than rubbery.
-
Finishing Touches:
Cooling slowly in the oven with the door cracked prevents sudden temperature changes that can cause sinking or cracking. Patience here makes all the difference.
-
Serving Timing:
These are best served chilled after they've had time to set fully. The flavors meld and the texture firms up to that perfect cheesecake consistency.
-
Line your muffin tin well - parchment liners work better than paper
-
Scrape the bowl frequently to ensure even mixing
-
Don't overbake - the centers should still jiggle slightly
-
Chill thoroughly before attempting to remove liners
Pro Tips
You know, the first time I made these, I was so impatient to try them that I didn't let them chill properly. They tasted fine but fell apart when I tried to unwrap them. Now I always make them the day before I need them. The waiting is the hardest part, but it's worth it. These little cheesecakes have become my secret weapon for meal prep Sundays. I'll make a batch and have healthy desserts ready for the whole week. It's one of those cooking techniques that seems small but makes such a difference in eating well without feeling deprived.
The essence of the dish:
What makes these special is how they balance indulgence with nourishment. They don't taste like 'health food' - they taste like real cheesecake, but you can enjoy them without that heavy, guilty feeling afterward. The portion size is perfect too - just enough to satisfy but not so much that you regret it.
A fun fact or historical angle:
Individual servings of cheesecake date back to ancient Greece, where athletes ate cheese cakes for energy before competitions. Our protein version is a modern twist on this ancient tradition.
Flavor or sensory focus:
The first thing you'll notice is the creaminess - it's surprisingly rich for something so light. Then the vanilla and slight tang from the yogurt come through, with a nutty crust that adds textural contrast.
You Must Know
-
Room temperature ingredients are non-negotiable for smooth filling
-
Don't skip the water bath - it prevents cracking
-
Chill time is just as important as bake time
-
Use a scoop for even portioning
Frequently Asked Questions
→ Can I use a different protein powder?
Yes, but stick with vanilla or unflavored. Chocolate works too, but adjust sweetener accordingly. Avoid powders with strong artificial flavors.
→ How long do these keep in the refrigerator?
They'll stay fresh for about 5 days covered tightly. The crust may soften slightly but they're still delicious.
→ Can I freeze these mini cheesecakes?
Absolutely! Freeze individually on a tray first, then transfer to containers. Thaw in refrigerator overnight.
→ My filling is lumpy - what happened?
Your cream cheese was likely too cold. Next time, let it soften completely at room temperature before mixing.
→ Can I make these without a muffin tin?
You can use ramekins or small jars, but the baking time may need adjustment. The muffin tin gives the perfect size and shape.
→ What can I use instead of almond flour for the crust?
Crushed gluten-free cookies or oats work well. Just make sure to adjust the binder if needed.
Nutrition Facts
per serving
145
Calories
8g
Protein
6g
Carbs
10g
Fat
Taste Profile
Creamy and slightly sweet with a nice balance of tanginess from the cream cheese and yogurt
Ingredient Substitutions
Don't have an ingredient? Try these alternatives
Use about 1 1/2 cups crushed cookies mixed with 2 tablespoons melted butter
Adjust to taste as sweetness levels may vary
Recipe Variations
Try these delicious twists on the original
Chocolate Protein Cheesecakes
Use chocolate protein powder and add 2 tablespoons cocoa powder to the filling
Lemon Berry Swirl
Add extra lemon zest and swirl in mashed berries before baking
Common Mistakes to Avoid
Learn from others' mistakes for perfect results
- Using cold ingredients leads to lumpy filling
- Overbaking causes dry, rubbery texture
- Skipping water bath results in cracked tops
- Not chilling long enough before serving
Meal Prep & Storage
Make Ahead Tips
These are perfect for making ahead! Prepare up to 3 days in advance and keep refrigerated. The flavors actually improve with time.
Leftover Ideas
Store covered in refrigerator. They firm up more each day but remain delicious. Great for lunchboxes or afternoon snacks.
Perfect Pairings
Serve this with...
Cooking Timeline
Prep ingredients and make crusts. Let cream cheese continue softening if needed.
Make filling and portion into prepared crusts. Set up water bath.
Bake and begin cooling process in turned-off oven.
Finish cooling at room temperature before refrigerating.
Chill thoroughly before serving for best texture.
 Healthy, Simple & Family Cooking
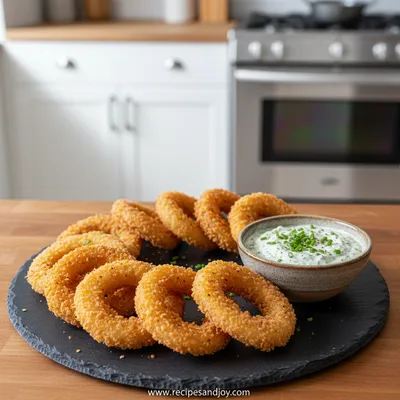
Crispy Keto Onion Rings
A easy, crunchy keto snack that feels indulgent without the carbs.
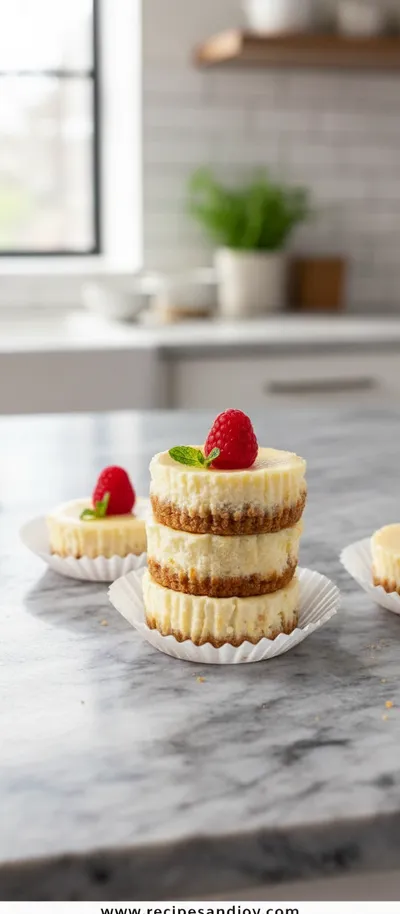
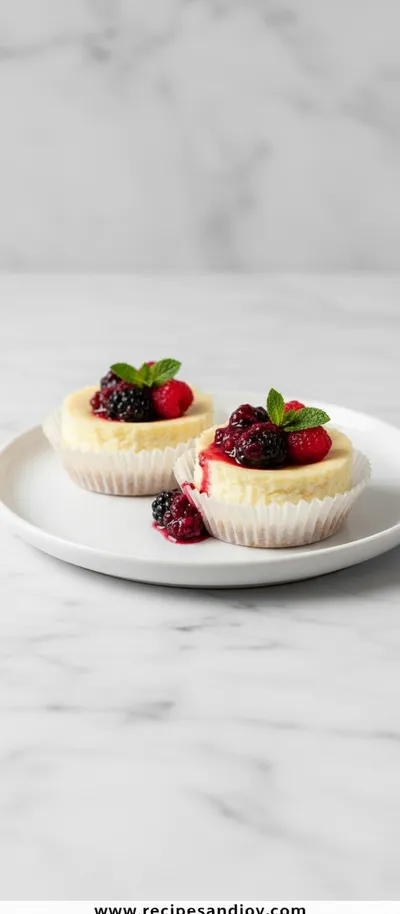
Mini Protein Cheesecakes - Healthy & Gluten Free
These mini protein cheesecakes are the perfect guilt-free treat - creamy, satisfying, and packed with protein while being completely gluten-free. They're little bites of heaven that won't derail your healthy eating goals.
Timing
Prep Time
20 Minutes
Cook Time
25 Minutes
Total Time
4 Hours 45 Minutes
Recipe Details
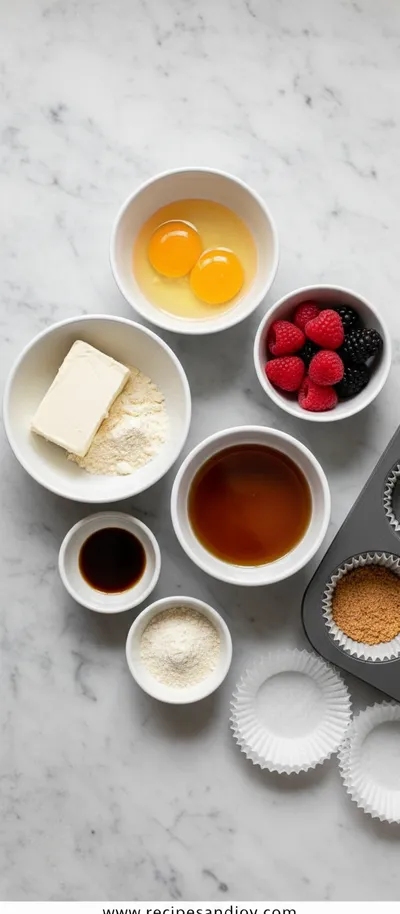
Ingredients
Crust
-
01
1 cup almond flour
-
02
2 tablespoons melted coconut oil
-
03
1 tablespoon maple syrup
-
04
Pinch of salt
Cheesecake Filling
-
01
16 oz cream cheese, softened
-
02
1/2 cup Greek yogurt
-
03
1/2 cup vanilla protein powder
-
04
1/4 cup honey or maple syrup
-
05
2 eggs
-
06
1 teaspoon vanilla extract
-
07
1 tablespoon lemon juice
Instructions
Preheat oven to 325°F. Line a muffin tin with parchment liners. In a small bowl, mix almond flour, melted coconut oil, maple syrup, and salt until it resembles wet sand.
Press about 1 tablespoon of crust mixture into the bottom of each liner. Use a small glass or measuring spoon to press it down firmly and evenly.
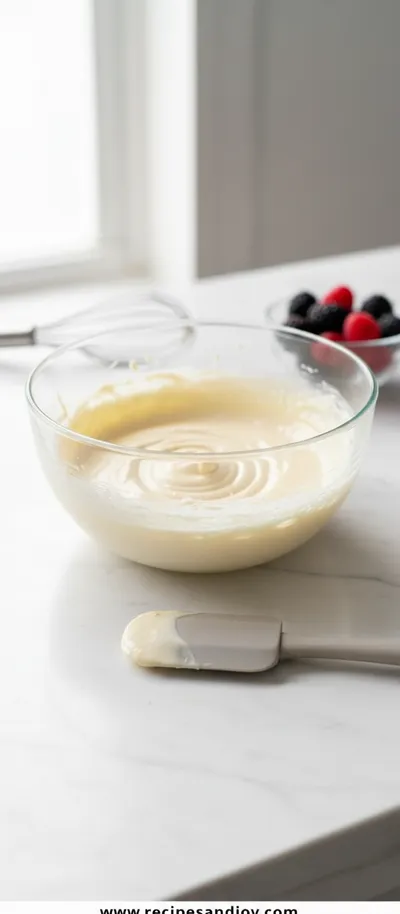
In a large bowl, beat the softened cream cheese until smooth and creamy. This might take a couple minutes - don't rush it. Scrape down the sides as needed.
Add Greek yogurt, protein powder, honey, eggs, vanilla, and lemon juice. Beat on medium until completely smooth and well combined. The batter should be thick but pourable.
Divide the filling evenly among the prepared crusts, filling almost to the top. Tap the pan gently on the counter to remove air bubbles.
Place the muffin tin in a larger baking dish. Pour hot water into the larger dish until it comes about halfway up the sides of the muffin tin.
Bake for 20-25 minutes until the edges are set but the centers still jiggle slightly. Turn off the oven and crack the door open. Let them cool in the oven for 30 minutes.
Remove from oven and cool completely at room temperature, then refrigerate for at least 4 hours or overnight before serving.
Notes & Tips
-
1
Make sure all ingredients are room temperature for smoothest filling
-
2
Don't overbake - the centers should still jiggle when you remove them
-
3
Chill thoroughly before serving for best texture
-
4
Store leftovers covered in refrigerator

Tools You'll Need
-
Muffin tin
-
Parchment liners
-
Mixing bowls
-
Electric mixer
-
Measuring cups and spoons
-
Large baking dish for water bath
Must-Know Tips
-
Room temperature ingredients prevent lumps in your filling
-
Water bath keeps the cheesecakes moist and prevents cracking
-
Chill completely before serving for perfect sliceability
Professional Secrets
-
Scrape bowl frequently during mixing for even incorporation
-
Tap pan gently to remove air bubbles before baking
-
Cool slowly in turned-off oven to prevent sinking

Recipe by
Lily AndersonLife is sweeter with dessert 🍰💕 Baking joy, spreading smiles, and loving every sprinkle ✨
Get Delicious Recipes Weekly
Join 25,000+ home cooks getting our best recipes straight to their inbox.
Free forever • No spam • Unsubscribe anytime