
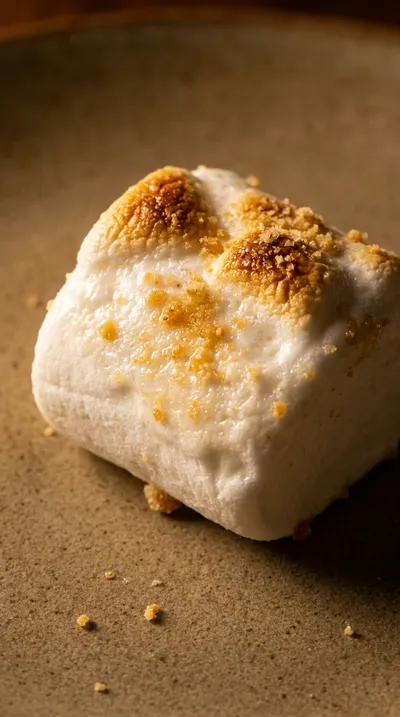
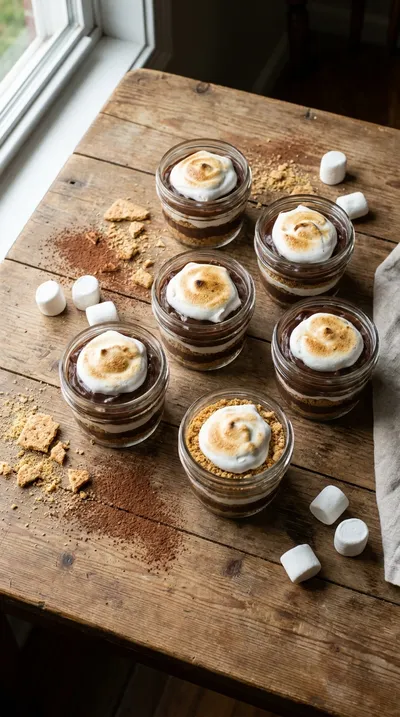
Campfires have long inspired sweet treats, and the classic s'more emerged in the early 20th century as a simple combination of toasted marshmallow, chocolate, and graham cracker. This no‑bake version captures that essence while honoring the tradition of effortless indulgence. The layered pudding cups bring together creamy texture and crunchy bite, echoing the carefree moments of childhood evenings spent under a starlit sky.
Why You'll Love It
-
- No oven required, perfect for warm days
-
- Layers of texture that please every bite
-
- Can be made ahead for effortless entertaining
-
- Gentle sweetness that isn’t overpowering
Wow, these cups tasted just like the campfire memories I cherish. So simple, yet so satisfying.
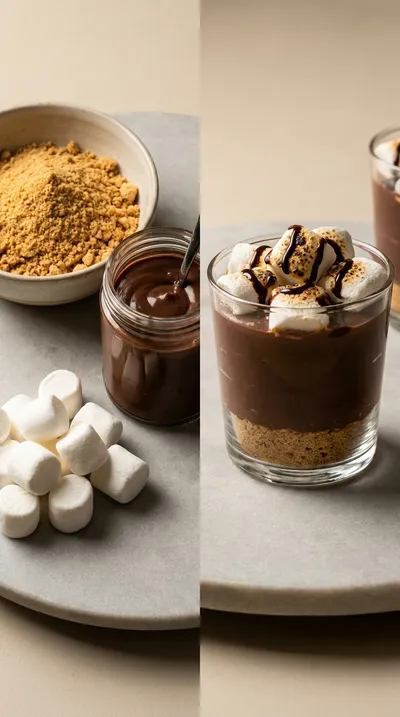
Essential Ingredient Guide
- Graham cracker crumbs: Choose plain or honey‑sweetened; toast lightly for extra crunch and a warm aroma.
- Semi‑sweet chocolate chips: Select quality chips; they melt smoothly into a glossy layer that holds the marshmallows.
- Marshmallow fluff: Adds airy sweetness; you can substitute with mini marshmallows for a chewy texture.
- Instant vanilla pudding mix: Provides the creamy base; whisk with cold milk for a velvety consistency.
- Butter: Melted with the crumbs, it creates a cohesive crust that stays crisp.
- Salted caramel drizzle: Optional, but a thin ribbon balances the chocolate’s richness with a hint of salty depth.

Complete Cooking Process
-
Ingredient Readiness:
Toast the graham crumbs lightly, melt butter, and whisk the pudding mix with cold milk until smooth.
-
Flavor Development:
Layer chocolate chips over the warm crumb base so they melt just enough to create a glossy sheen.
-
Texture Control:
Fold marshmallow fluff gently into the pudding, keeping it airy and light.
-
Finishing Touches:
Top each cup with a drizzle of caramel and a sprinkle of extra crumbs for crunch.
-
Serving Timing:
Chill for at least 30 minutes; serve when the pudding is set but the topping still glistens.
-
Use full‑fat milk for richer puddings.
-
Toast crumbs just until golden; over‑toasting makes them bitter.
-
Add a pinch of sea salt to the caramel for contrast.
Pro Tips
Well, these little adjustments make a big difference. I often find that a tiny dash of salt brings the chocolate forward, while a fully chilled cup gives the layers time to settle. Take a moment to taste before serving; a small tweak can turn a good dessert into a memorable one.
 Sweet Treats & Desserts
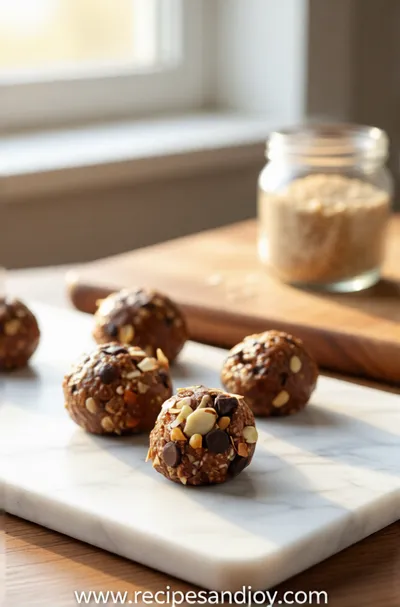
No-Bake Protein Energy Balls – Easy Healthy Snack
A simple, no‑bake bite of protein‑packed goodness you can carry anywhere.
The essence of the dish:
It’s all about contrast – the buttery graham crust, the silky chocolate‑pudding swirl, and the fluffy marshmallow cloud that ties everything together.
A fun fact or historical angle:
S’mores were first advertised in a 1927 Girl Scouts cookbook, quickly becoming a staple of American summer camps.
Flavor or sensory focus:
You’ll notice the first bite of sweet, molten chocolate, followed by a gentle crunch and then the lingering vanilla‑marshmallow softness.
You Must Know
-
Do not over‑mix the pudding or it becomes dense.
-
Allow the crust to cool before adding liquid layers.
-
Serve chilled, but not frozen, to keep the texture supple.
Frequently Asked Questions
→ Can I use a different crust?
Absolutely – crushed Oreos or pretzel crumbs work well if you want a richer or salty base.
→ How long can I store the cups?
Refrigerate up to 3 days; keep the topping separate if you prefer crunch.
→ Is this recipe gluten‑free?
Swap graham crackers for a gluten‑free alternative and you’re all set.
→ Can I make it vegan?
Use plant‑based milk and coconut‑based whipped topping; choose dairy‑free chocolate.
→ Do I need a special dish for layering?
Clear plastic or glass dessert cups work best to showcase the layers.
→ What’s the best way to melt the chocolate?
A gentle double‑boiler or microwave in 15‑second bursts keeps it smooth.
Nutrition Facts
per serving
320
Calories
5g
Protein
38g
Carbs
14g
Fat
Taste Profile
Rich chocolate sweetness with a hint of caramel and toasted graham.
Ingredient Substitutions
Don't have an ingredient? Try these alternatives
Ensures the dish stays safe for gluten‑sensitive guests.
Creates a chewier texture but retains sweetness.
Recipe Variations
Try these delicious twists on the original
Dark Chocolate Twist
Swap semi‑sweet chips for 70% dark chocolate for a deeper cocoa note.
Nutty Delight
Add toasted chopped pecans to the crust for an added buttery crunch.
Common Mistakes to Avoid
Learn from others' mistakes for perfect results
- Over‑mixing pudding, which makes it dense.
- Adding too much butter to the crust, causing sogginess.
- Skipping the chill step, resulting in a runny texture.
Meal Prep & Storage
Make Ahead Tips
You can prepare the crust and pudding layers up to 24 hours ahead; store each component separately and assemble just before serving.
Leftover Ideas
Re‑heat gently in a microwave for 15 seconds if you prefer a warm dessert, but the texture changes slightly.
Perfect Pairings
Serve this with...
Cooking Timeline
Toast crumbs, melt butter, and combine for crust.
Whisk pudding and melt chocolate; fold in marshmallow fluff.
Layer crust and pudding into cups, drizzle caramel.
Chill in refrigerator; garnish before serving.
 Easy Everyday Dinners
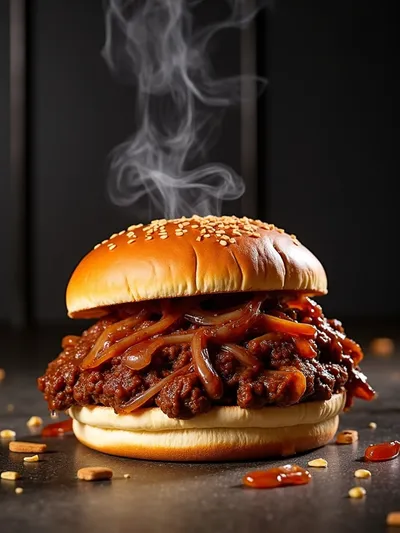
French Onion Beef Sloppy Joes – Easy Dinner
Hearty French onion beef sloppy joes with caramelized onions and a savory, sweet sauce.
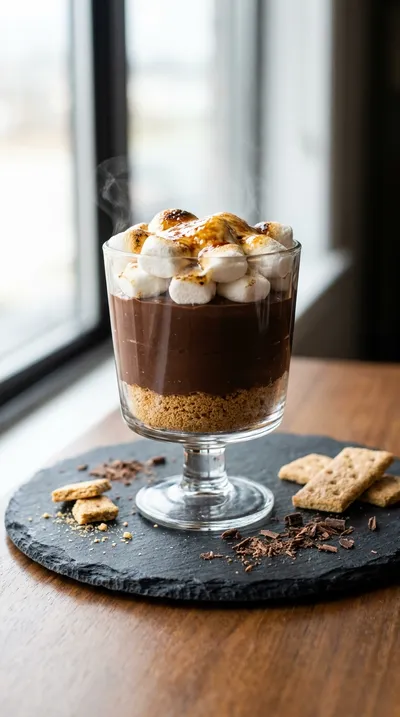
No Bake S'mores Pudding Cups
A creamy, chocolatey no‑bake pudding layered with toasted graham crumbs, marshmallows, and a hint of smoky campfire flavor – all in a handy cup.
Timing
Prep Time
15 Minutes
Cook Time
10 Minutes
Total Time
25 Minutes
Recipe Details
Ingredients
Base Layer
-
01
1 cup graham cracker crumbs
-
02
2 tbsp melted butter
-
03
1 tbsp brown sugar
Pudding
-
01
2 cups cold whole milk
-
02
1/2 cup instant vanilla pudding mix
-
03
1/2 cup semi‑sweet chocolate chips
-
04
1/4 cup marshmallow fluff
Topping
-
01
2 tbsp salted caramel sauce
-
02
Extra graham crumbs for garnish
-
03
Optional: mini marshmallows
Instructions
Combine graham crumbs, melted butter, and brown sugar in a bowl; stir until the mixture resembles wet sand.
Press the crumb mixture evenly into the bottom of each dessert cup, creating a firm base.
In a separate bowl, whisk cold milk with the instant pudding mix; let sit for 2 minutes until thickened.
Gently fold chocolate chips into the pudding until they melt into a smooth swirl.
Fold marshmallow fluff into the chocolate pudding, keeping the mixture light and airy.
Spoon the pudding over the crust, then drizzle caramel and sprinkle extra crumbs. Chill for 30 minutes before serving.
Notes & Tips
-
1
If the chocolate doesn’t melt fully, place the bowl over warm water for a few seconds.
-
2
For extra crunch, add a handful of toasted coconut flakes on top.
-
3
Allow the cups to sit at room temperature for 5 minutes before serving for the best texture.
 Easy Everyday Dinners
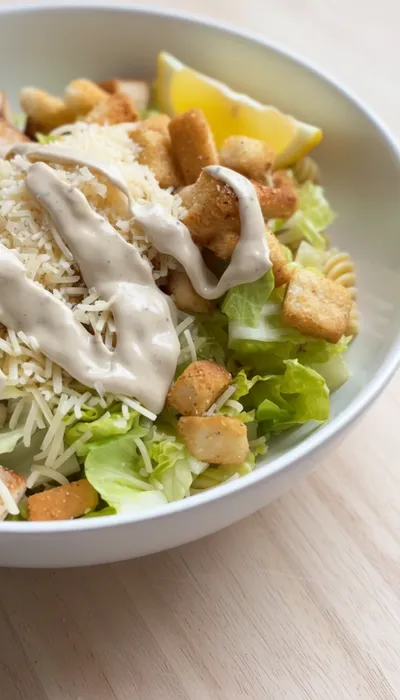
Chicken Caesar Pasta Salad Recipe
Quick creamy chicken Caesar pasta salad, ideal for weeknight meals.
Tools You'll Need
-
Measuring cups
-
Mixing bowls
-
Whisk
-
Small spatula
-
Dessert cups
-
Saucepan for melting butter
Must-Know Tips
-
Do not over‑mix the pudding; it stays airy.
-
Press the crust firmly to avoid crumbling later.
-
Taste the caramel before drizzling to balance sweetness.
Professional Secrets
-
Use warm butter for the crust; it binds better.
-
Chill the pudding mixture for a few minutes before filling for a smoother layer.
-
Finish with a quick blast of the broiler for a caramelized top, if desired.

Recipe by
Lily AndersonLife is sweeter with dessert 🍰💕 Baking joy, spreading smiles, and loving every sprinkle ✨
Get Delicious Recipes Weekly
Join 25,000+ home cooks getting our best recipes straight to their inbox.
Free forever • No spam • Unsubscribe anytime