
No‑cook ice cream traces its roots to early 20th‑century home kitchens where ice was a luxury, and families sought shortcuts to a cool treat. The method relied on freezing the mixture in a shallow pan, stirring occasionally, creating a smooth texture without a churn. This technique spread across continents, becoming a beloved summer shortcut in many households. The tradition endures, offering a quick, comforting dessert that feels both contemporary and nostalgic.
Why You'll Love It
-
- Virtually no equipment needed, just a bowl and patience
-
- Creamy texture without the graininess of ice crystals
-
- Customizable with fruit, spices, or a drizzle of honey
-
- Perfect for hot days when you don’t want to fire up the oven
"I made this for my kids and they begged for seconds—so easy, so creamy!"
Essential Ingredient Guide
- Whole milk: Provides a light base; choose fresh, cold milk for best texture.
- Heavy cream: Adds richness and a silky mouthfeel; whisk gently to combine.
- Honey or maple syrup: A natural sweetener that dissolves easily without heating.
- Vanilla extract: A few drops deliver fragrant depth; consider fresh beans for extra aroma.
- Citrus zest: A pinch of lemon or orange zest lifts the flavor with a bright note.
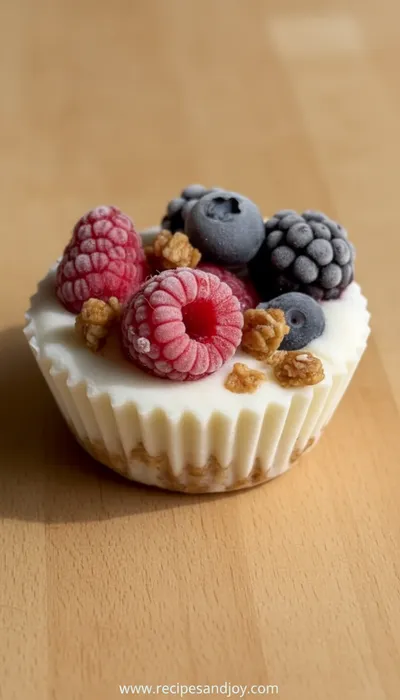
- Fresh berries: Fold in at the end for a burst of color and gentle tartness.

Complete Cooking Process
-
Ingredient Readiness:
Measure and chill all liquids; zest citrus and prep berries while the milk rests.
-
Flavor Development:
Blend milk, cream, honey, and vanilla; let the mixture sit for a minute to marry flavors.
-
Texture Control:
Place the blend in a shallow pan, freeze, and stir every 10 minutes to keep crystals small.
-
Finishing Touches:
Fold in berries and a drizzle of extra honey just before serving.
-
Serving Timing:
Serve within 30 minutes of the final stir for the soft‑serve consistency.
-
Use a metal pan for quicker freezing
-
Stir with a rubber spatula to break ice crystals
-
Cover the pan with plastic wrap to prevent ice buildup
Pro Tips
I find that a brief pause after the last stir lets the mixture settle, giving it a plush, velvety feel. So, when the aroma of vanilla settles, take a breath, smile, and remember that simple pleasures are often the most satisfying. It’s okay if the texture isn’t perfectly smooth—those tiny speckles add character, just like the little imperfections in life.
The essence of the dish:
It’s the gentle balance of dairy richness and sweet lightness, allowing the palate to glide across a cool surface that whispers of summer afternoons.
A fun fact or historical angle:
Before electric freezers, families would stir custard‑like mixtures in ice‑filled barrels, creating a rudimentary version of today’s no‑cook treat.
Flavor or sensory focus:
The first spoonful greets you with creamy silk, a faint vanilla perfume, and a subtle citrus sparkle that lingers pleasantly.
You Must Know
-
Keep ingredients cold for faster set‑up
-
Stir consistently to avoid grainy ice
-
Serve immediately for best texture
Frequently Asked Questions
→ Can I use plant‑based milk?
Yes, almond, oat, or coconut milk work well; just ensure they are unsweetened for balance.
→ Do I need an ice cream maker?
No, the method relies on periodic stirring while the mixture freezes in a shallow pan.
→ How long does it take to freeze?
About 30‑40 minutes, depending on your freezer’s temperature and the pan’s thickness.
→ Can I add chocolate chips?
Absolutely—fold them in after the final stir so they stay crunchy.
→ Is this recipe gluten‑free?
Yes, as written it contains no gluten ingredients.
→ How do I store leftovers?
Transfer to an airtight container and keep in the freezer; stir gently before serving.
Nutrition Facts
per serving
250
Calories
5g
Protein
26g
Carbs
14g
Fat
Taste Profile
Creamy sweetness with a hint of citrus
Ingredient Substitutions
Don't have an ingredient? Try these alternatives
Provides similar richness with a hint of coconut flavor.
Keeps the natural sweetness, just a touch lighter.
Recipe Variations
Try these delicious twists on the original
Spicy Version
Add a pinch of cayenne and a swirl of honey for a subtle heat.
Mediterranean Style
Mix in chopped pistachios and a drizzle of orange blossom water.
Common Mistakes to Avoid
Learn from others' mistakes for perfect results
- Stirring too vigorously, which creates large ice crystals
- Leaving the mixture uncovered, leading to ice crust formation
- Using warm ingredients, which delays freezing
Meal Prep & Storage
Make Ahead Tips
You can whisk the base and keep it refrigerated for up to 24 hours; the mixture will chill faster when ready to freeze.
Leftover Ideas
Reheat gently in a saucepan with a splash of milk if the texture becomes too firm, then enjoy as a soft‑serve.
Perfect Pairings
Serve this with...
Cooking Timeline
Gather and measure all ingredients; zest lemon and slice strawberries.
Whisk milk, cream, honey, vanilla, and zest together until smooth.
Place mixture in shallow pan, freeze, and stir every 10 minutes.
Fold in strawberries and lemon juice; let sit briefly.
Serve immediately or store in an airtight container.
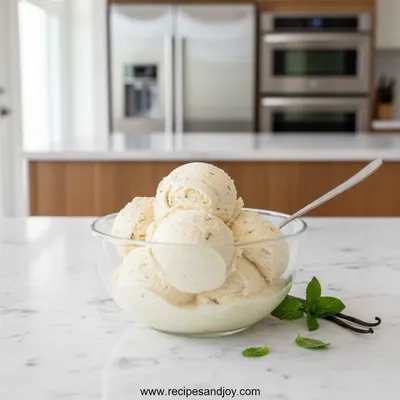
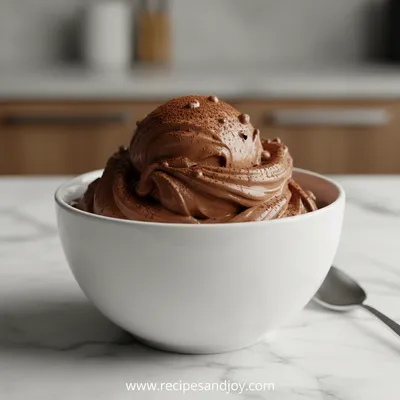
No-Cook Homemade Ice Cream
A silky, fuss‑free ice cream that needs no freezer, no churn, and only a handful of fresh ingredients. Perfect for a warm afternoon when you crave something sweet yet light.
Timing
Prep Time
10 Minutes
Cook Time
0 Minutes
Total Time
40 Minutes
Recipe Details
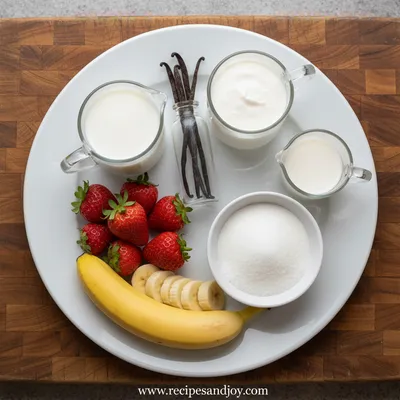
Ingredients
Base
-
01
2 cups whole milk, chilled
-
02
1 cup heavy cream
-
03
1/4 cup honey or maple syrup
-
04
1 tsp pure vanilla extract
-
05
Zest of 1/2 lemon
Add‑ins
-
01
1/2 cup fresh strawberries, sliced
-
02
1 tbsp lemon juice
-
03
Optional: pinch of sea salt
Instructions
In a large bowl, whisk together the chilled milk, heavy cream, honey, vanilla, and lemon zest until the honey dissolves.
Pour the mixture into a shallow metal pan, spreading it evenly.
Place the pan in the freezer. After 10 minutes, stir the edges toward the center with a rubber spatula, breaking up any ice crystals.
Every 10 minutes, repeat stirring for about 30‑40 minutes until the texture is smooth and creamy.
Fold in the sliced strawberries and lemon juice gently, then let sit for another 5 minutes.
Spoon into bowls, drizzle with a bit more honey, and serve immediately.
Notes & Tips
-
1
If the mixture freezes too hard, let it sit at room temperature for 2‑3 minutes before serving.
-
2
For a richer flavor, substitute half of the milk with coconut milk.
-
3
Add a splash of vanilla ice cream base for extra creaminess.
Tools You'll Need
-
Large mixing bowl
-
Rubber spatula
-
Shallow metal pan
-
Freezer
-
Measuring cups and spoons
Must-Know Tips
-
Keep all ingredients cold, it speeds up the freezing process.
-
Stir gently to incorporate air for a smoother mouthfeel.
-
Cover the pan with plastic wrap to prevent ice crystals on the surface.
Professional Secrets
-
Use a metal pan for rapid heat transfer.
-
Stir in a figure‑eight motion to break larger ice crystals.
-
Add a pinch of salt to enhance sweetness perception.

Recipe by
Lily AndersonLife is sweeter with dessert 🍰💕 Baking joy, spreading smiles, and loving every sprinkle ✨
Get Delicious Recipes Weekly
Join 25,000+ home cooks getting our best recipes straight to their inbox.
Free forever • No spam • Unsubscribe anytime