The concept of brookies emerged as a playful culinary hybrid, reflecting a broader American trend of 'mash-up' desserts that combine two beloved classics into one convenient form. Born from the desire to settle the eternal debate between the fudgy texture of a brownie and the crisp-yet-chewy nature of a chocolate chip cookie, these bars represent a marriage of comfort and indulgence.
Historically, both brownies and chocolate chip cookies became staples of the American home kitchen in the early 20th century, evolving from simpler cakes and biscuits. The brookies variation takes these two distinct legacies and layers them, creating a textural contrast that elevates the snacking experience. The layering technique ensures that neither flavor dominates, allowing the rich cocoa and buttery sugars to coexist in harmony.
Culturally, these bars have become a favorite for bake sales and family gatherings. The marbled appearance, created by swirling the batters, adds a visual artisan quality to a recipe that remains fundamentally grounded in simple, pantry-stable ingredients. It is a testament to the enduring love for chocolate in all its varied forms.
Why You'll Love It
-
- Honestly, it is the best of both worlds; you get that rich, fudgy brownie heart and a soft cookie edge all in one bite.
-
- I remember when I first made these, the smell of melting butter and cocoa filling the kitchen was just... wow, pure comfort.
-
- It's so surprisingly easy to put together, so you don't need to be a professional baker to get that gooey, marbled look.
-
- Look, we all have those days where we just need something sweet, and these bars are a guaranteed crowd-pleaser for the whole family.
"Honestly, these are the best things I've ever baked. My grandkids absolutely love the gooey center!"
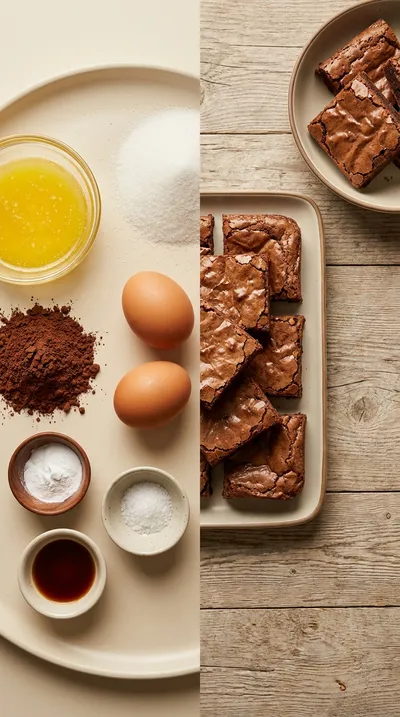
Essential Ingredient Guide
- unsalted butter, melted: I always use unsalted so I can control the salt myself. Make sure it's melted but not boiling hot, or you might scramble those eggs, oops!
- dark chocolate cocoa powder: This is what gives the brownie layer its deep, moody color. If you want it even more intense, a dark cocoa powder works wonders.
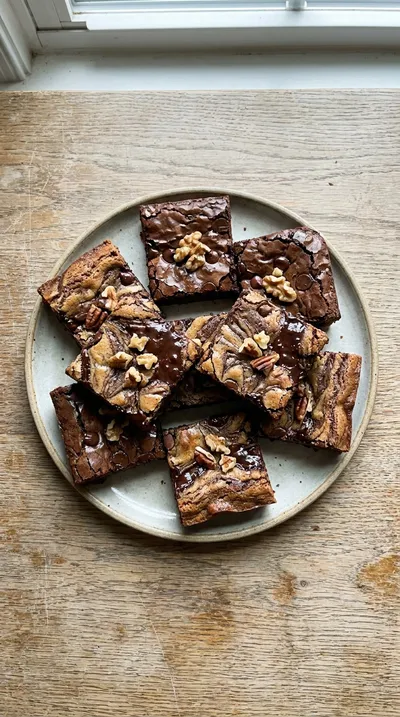
- chopped walnuts or pecans (optional): Now, these are just optional, but I love the little crunch they add. It breaks up the richness of the chocolate quite nicely, yeah.
- salt: Just a pinch of salt in both batters helps balance out all that sugar. It brings out the chocolate notes and makes everything taste a bit more grounded.
- vanilla extract: A little bit of vanilla goes a long way in adding that warm, floral sweetness. It's those little touches that make the house smell like a bakery.
- packed light brown sugar: I use this in the brownie batter for a deeper, caramel-like sweetness. Be sure to pack it down firmly in your measuring cup.


Complete Cooking Process
-
Getting Ready:
Start by melting your 1 cup (2 sticks or 226g) unsalted butter and prepping your pan with parchment paper. Having your ingredients measured out first makes everything feel so much calmer, trust me.
-
Building the Base:
Creaming the butter and sugar together is where the magic starts. When you gradually add the dry ingredients, just mix until combined—don't overdo it or the cookies won't be as soft.
-
The Marbling Moment:
Spoon the brownie batter over the cookie layer and gently swirl them. This is the key to that beautiful, marbled texture that looks so fancy but is actually quite simple.
-
The Final Touch:
Just before sliding them into the oven, sprinkle the remaining 1/2 cup (113g) semi-sweet chocolate chips on top. It creates those little pockets of melted chocolate that are just heavenly.
-
Patience and Serving:
Let them cool completely on a wire rack before you cut them. I know it's hard to wait, but it ensures the bars hold their shape and stay gooey in the center.
-
Start checking for doneness at 25 minutes so you don't overbake them.
-
Use a kitchen scale for the flour to keep your results consistent every time.
-
For an even deeper chocolate flavor, try switching to dark cocoa powder.
-
Line your pan with parchment paper leaving an overhang for an easy lift.
Pro Tips
Just follow your heart and enjoy the process, you've got this!
Better For You Treats
Ways to Make it Your Own
Serving Suggestions
Frequently Asked Questions
→ How do I know when they are actually done?
Just poke a toothpick in the center; you want to see moist crumbs, not wet batter. If it's too wet, give them a few more minutes.
→ Can I freeze these for later?
Yes, absolutely! Just wrap individual bars in plastic wrap and keep them in an airtight container for up to 2 months.
→ What if my brownie batter is too thick to swirl?
Don't worry about it, just drop it in spoonfuls. It's okay if some of the cookie batter peeks through—that's what makes them look homemade and rustic.
Nutrition Facts
per serving
410
Calories
5g
Protein
45g
Carbs
22g
Fat
Taste Profile
A rich, decadent blend of sugary cookie and deep, bittersweet chocolate.
Ingredient Substitutions
Don't have an ingredient? Try these alternatives
Works well for a buttery, richer nut flavor.
A great alternative that adds a subtle coconut note.
Recipe Variations
Try these delicious twists on the original
Peanut Butter Brookies
Stir 1/2 cup of peanut butter into the cookie batter and swirl in an extra 1/4 cup of peanut butter chips on top for a salty-sweet twist.
Salted Caramel Brookies
Once baked and cooled, drizzle the top with a salted caramel sauce and a sprinkle of flaky sea salt for a gourmet touch.
Common Mistakes to Avoid
Learn from others' mistakes for perfect results
- Overmixing the flour, which makes the bars tough instead of chewy.
- Overbaking the center, which removes the signature gooey brownie texture.
- Forgetting the parchment paper, making it difficult to remove the bars from the pan.
Meal Prep & Storage
Make Ahead Tips
You can bake these in advance and store them in an airtight container for 3 days, or freeze them for up to 2 months for a quick treat.
Leftover Ideas
Store in an airtight container at room temperature. To enjoy them warm again, just pop a piece in the microwave for 10-15 seconds.
Perfect Pairings
Serve this with...
Cooking Timeline
Preheat oven and prep the baking pan with parchment.
Mix the cookie batter and spread it into the pan.
Whisk the brownie batter and swirl it over the cookies.
Bake for 25-30 minutes and let cool completely.
Slice into 16 squares and serve.
 Sweet Treats & Desserts
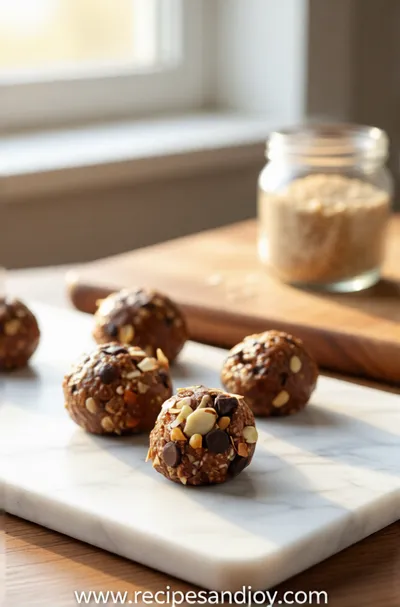
No-Bake Protein Energy Balls – Easy Healthy Snack
A simple, no‑bake bite of protein‑packed goodness you can carry anywhere.

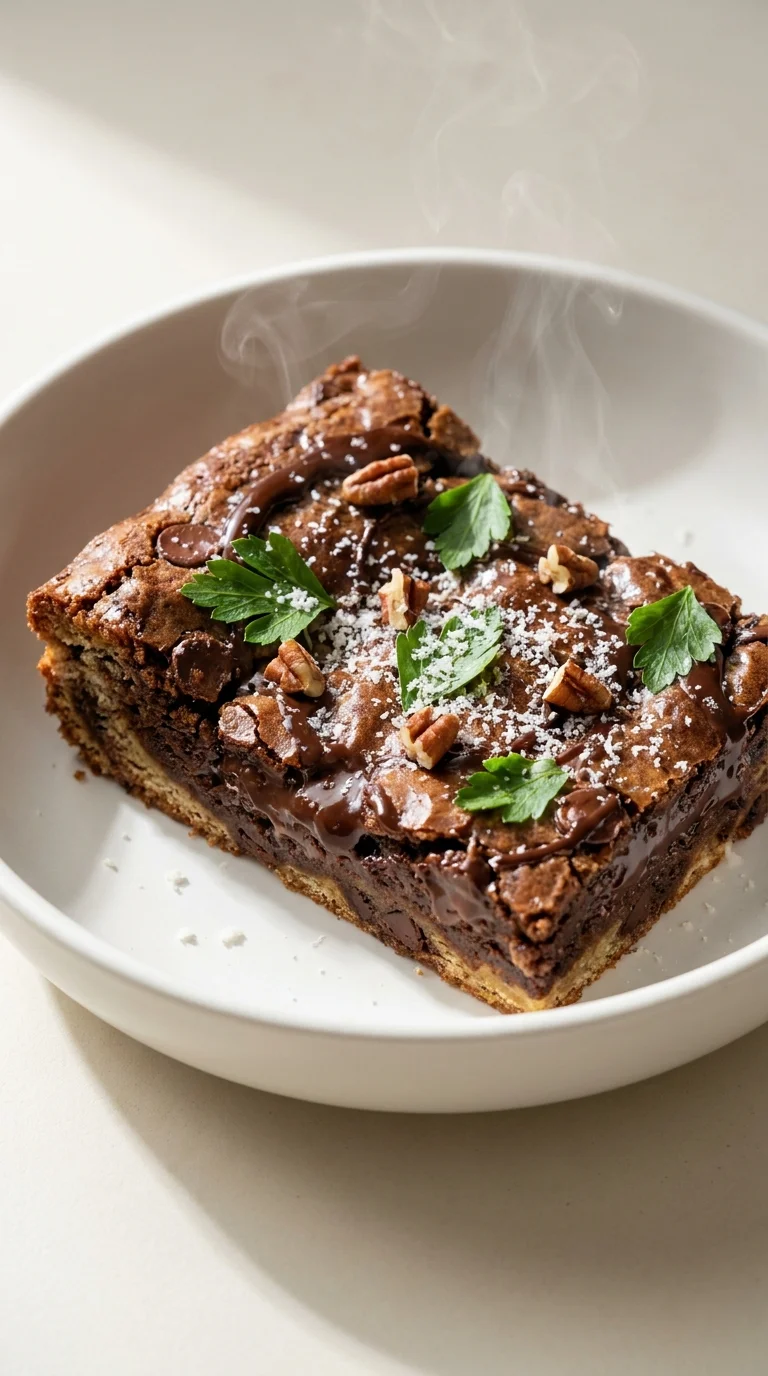
Brookies: Chewy Chocolate Cookie-Brownie Bars
Savor the comforting warmth of these brookies, where the fudgy depth of chocolate brownies meets the golden chew of classic cookies. It is a rich, marbled treat that fills the kitchen with a sweet, buttery aroma.
Timing
Prep Time
20 Minutes
Cook Time
25-30 Minutes
Total Time
45-50 Minutes
Recipe Details
Ingredients
Cookie Layer
-
01
1 cup (2 sticks or 226g) unsalted butter, melted
-
02
1 3/4 cups (350g) granulated sugar
-
03
2 large eggs
-
04
1 teaspoon vanilla extract
-
05
1 3/4 cups (192g) all-purpose flour
-
06
1 teaspoon baking soda
-
07
1/2 teaspoon salt
-
08
1/2 cup (60g) semi-sweet chocolate chips
-
09
1/2 cup (60g) chopped walnuts or pecans (optional)
Brownie Layer
-
01
1 cup (113g) dark chocolate cocoa powder
-
02
1/2 cup (120ml) vegetable oil
-
03
1 cup (200g) packed light brown sugar
-
04
1 large egg
-
05
1 teaspoon vanilla extract
-
06
1/4 cup (30g) all-purpose flour
-
07
1/4 teaspoon salt
-
08
1/2 cup (113g) semi-sweet chocolate chips
Instructions
First things first, go ahead and preheat your oven to 350°F (175°C). Line a 9x13 inch baking pan with parchment paper. I always leave a little overhang on the sides—honestly, it makes lifting the whole thing out so much easier and keeps the cleanup simple.
In a large mixing bowl, cream together that melted butter and granulated sugar until they're well combined. Beat in the eggs one at a time—just take your time with them—then stir in the vanilla extract.
In a separate bowl, whisk together the flour, baking soda, and salt. Gradually add these dry ingredients into your wet mixture, mixing until just combined. Now, look, be careful not to overmix here, or you'll lose that lovely chew.
Gently fold in the chocolate chips and nuts if you're using them. Pour about half of that cookie batter into your prepared pan and spread it out evenly.
In a medium bowl, whisk together the cocoa powder, vegetable oil, brown sugar, egg, vanilla extract, flour, and salt. Keep going until it's smooth and well combined—this is your rich brownie batter.
Carefully drop spoonfuls of the brownie batter over the cookie layer. You don't need to cover the cookie part completely; it's actually quite nice if some shows through. Gently swirl the brownie batter into the cookie base with a knife or toothpick to get a pretty marbled effect.
Finish it off by sprinkling the remaining 1/2 cup of semi-sweet chocolate chips evenly over the top.
Bake for 25-30 minutes. You'll know they're ready when a toothpick inserted into the center comes out with moist crumbs. If the batter is still wet, they need a few more minutes.
Let the brookies cool completely in the pan on a wire rack. I know it's hard to wait, but it's worth it! Use the parchment overhang to lift them out, cut them into squares, and serve.
Notes & Tips
-
1
Avoid overbaking to keep the center gooey.
-
2
A kitchen scale helps with flour accuracy for better results.
-
3
Dark cocoa powder provides a deeper, more intense chocolate flavor.
 Sweet Treats & Desserts
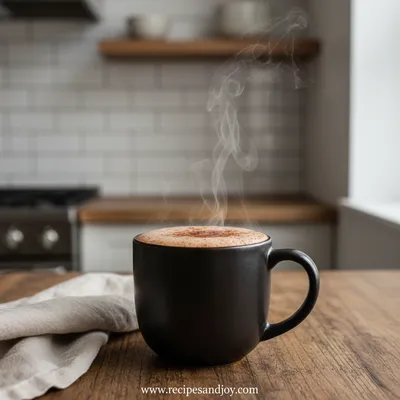
Healthier Hot Chocolate Recipe
Learn how to make a delicious healthier hot chocolate that's perfect for a cozy warm beverage.
Tools You'll Need
-
9x13 inch baking pan for the perfect size
-
Parchment paper for easy removal
-
Two large mixing bowls and one medium bowl
-
Electric mixer (handheld or stand) for creaming
-
Whisk for blending dry ingredients
-
Rubber spatula for folding
-
Measuring cups and spoons for precision
Must-Know Tips
-
Check for doneness early, Start checking at 25 minutes to avoid overbaking.
-
Weigh your flour, Using a scale ensures your bars aren't too dry.
-
The swirl technique, Use a toothpick or knife to create the marbled look.
Professional Secrets
-
The 'Moist Crumb' Rule: A toothpick should not be clean; a few moist crumbs ensure the fudgy texture.
-
Temperature Control: Using melted butter in the cookie base creates a denser, chewier bar.
-
Parchment Overhang: Always leave an inch of paper hanging over the edge for a clean lift.

Recipe by
Lily AndersonLife is sweeter with dessert 🍰💕 Baking joy, spreading smiles, and loving every sprinkle ✨
Get Delicious Recipes Weekly
Join 25,000+ home cooks getting our best recipes straight to their inbox.
Free forever • No spam • Unsubscribe anytime