
Pizza has traveled from the bustling streets of Naples to kitchen tables worldwide, becoming a beloved comfort food. Its evolution from simple flatbread to topping‑laden masterpiece is a testament to culinary creativity. Today, that same spirit guides us to reinvent leftovers into a snack that’s both economical and delightfully crunchy, preserving the classic flavors while adding a playful texture.
Why You'll Love It
-
- Minimal effort, maximum flavor
-
- Perfect for using up leftovers
-
- Crunchy texture with melty cheese
-
- Versatile – pair with dips or enjoy solo
"These pizza chips are a game‑changer—so simple, yet they taste like a restaurant‑style snack!"
Essential Ingredient Guide
- Pizza slices (any flavor): Choose slices that are a day old; the crust holds up better and the cheese softens just enough for crisping.
- Olive oil: A light coating helps the edges turn golden without greasing the pan too much.
- Parmesan cheese (optional): Adds an extra salty bite and a satisfying crisp on the surface.
- Dried herbs (oregano, basil): Sprinkle just before baking to lift the aroma and give a familiar pizza perfume.
- A squeeze of lemon (optional): A tiny dash brightens the flavor after cooking, balancing the richness.
- Crushed red pepper (optional): For a gentle heat if you enjoy a little kick.

Complete Cooking Process
-
Ingredient Readiness:
Trim the pizza into bite‑size triangles, pat dry with a paper towel, then drizzle lightly with olive oil.
-
Flavor Development:
Arrange the pieces on a baking sheet, sprinkle herbs and optional Parmesan, then let the oven’s dry heat coax out the cheese.
-
Texture Control:
Bake until the edges turn crisp and the cheese bubbles, rotating the sheet halfway for even browning.
-
Finishing Touches:
Remove, let cool a minute, then drizzle a touch of lemon juice or sprinkle red pepper for brightness.
-
Serving Timing:
Serve while still warm for that perfect crunch, accompanied by a side of marinara or ranch.
-
Use a pre‑heated baking sheet for instant sizzle
-
Don’t overcrowd the pan – give each chip space to breathe
-
Watch the chips closely; they go from golden to dark in seconds
-
Store leftovers in a paper‑towel lined container to retain crispness
Pro Tips
I find that a brief pause between removing from the oven and adding any extra seasoning lets the chips settle into their final texture. It’s a small moment of stillness that makes the snack feel more deliberate, almost like a quiet celebration of simple ingredients.
 Easy Everyday Dinners
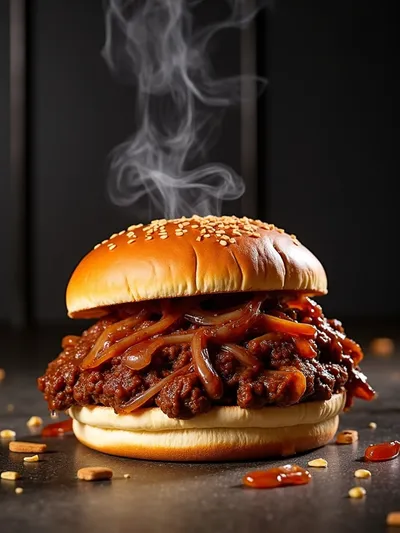
French Onion Beef Sloppy Joes – Easy Dinner
Hearty French onion beef sloppy joes with caramelized onions and a savory, sweet sauce.

The essence of the dish:
It’s all about the contrast – a crunchy exterior that gives way to a soft, melty interior, echoing the familiar comfort of pizza with a playful twist.
A fun fact or historical angle:
In Italy, leftover pizza was traditionally reheated on a stovetop, creating a similar crispness that modern ovens now replicate effortlessly.
Flavor or sensory focus:
You’ll notice the aroma of toasted herbs first, then the rich, gooey cheese, followed by the satisfying snap as you bite.
You Must Know
-
Use a rack for extra airflow
-
Season immediately after baking
-
Cool on a wire rack to keep crisp
Frequently Asked Questions
→ Can I use gluten‑free pizza crust?
Absolutely. Choose a gluten‑free base and follow the same steps; the result will be just as crisp.
→ How long can I store the chips?
Store in an airtight container for up to two days. Re‑heat briefly in a hot oven to restore crunch.
→ What dip pairs best?
Classic marinara, garlic aioli, or even a cool ranch complement the warm cheese nicely.
→ Can I add toppings before baking?
Yes, feel free to scatter extra pepperoni, olives, or mushrooms for added texture.
→ Do I need to pre‑heat the baking sheet?
Pre‑heating gives an instant sizzle that helps lock in crunch, but it’s optional if you’re short on time.
→ Is an air fryer better than an oven?
Both work well; an air fryer can speed up the process, delivering equally crisp results.
Nutrition Facts
per serving
210
Calories
9g
Protein
22g
Carbs
9g
Fat
Taste Profile
Cheesy, slightly salty with a hint of herbaceous aroma
Ingredient Substitutions
Don't have an ingredient? Try these alternatives
Ensures a thinner crisp; adjust baking time accordingly.
Provides a cheesy note for dairy‑free diets.
Recipe Variations
Try these delicious twists on the original
Spicy Version
Add crushed red pepper and a dash of hot sauce to the oil for a subtle heat.
Mediterranean Style
Top with feta crumbles, sliced olives, and a sprinkle of sun‑dried tomato before baking.
Common Mistakes to Avoid
Learn from others' mistakes for perfect results
- Overcrowding the pan – leads to soggy chips
- Skipping the pat‑dry step – excess moisture prevents crisping
- Baking too long – chips can become hard, not chewy
Meal Prep & Storage
Make Ahead Tips
You can cut and season the pizza pieces up to 24 hours ahead; store them in the fridge and bake when ready.
Leftover Ideas
Re‑heat in a hot oven at 350°F for 5 minutes or crisp in a skillet with a splash of oil.
Perfect Pairings
Serve this with...
Cooking Timeline
Preheat oven and heating sheet, cut pizza, pat dry.
Arrange, oil, season, and bake until golden.
Remove, rest briefly, add optional lemon.
 Easy Everyday Dinners
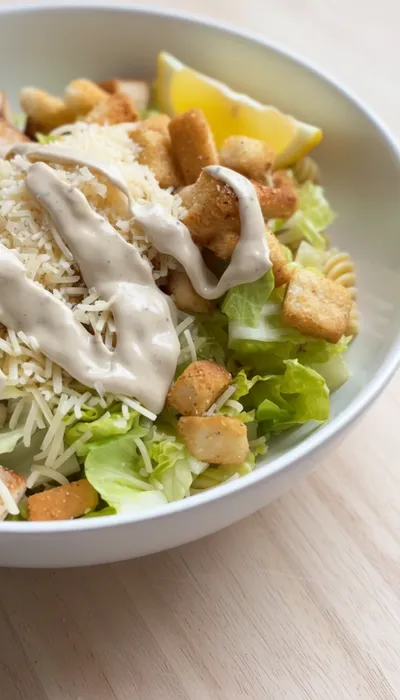
Chicken Caesar Pasta Salad Recipe
Quick creamy chicken Caesar pasta salad, ideal for weeknight meals.
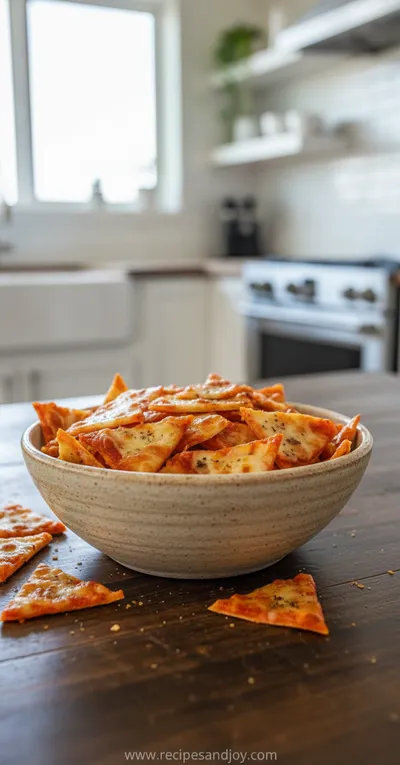
Crispy Pizza Chips – Easy Snack Recipe
Discover how to make crispy pizza chips, a quick and tasty snack perfect for any day. Crunchy, cheesy, and ready in minutes, these bite‑size wonders turn leftover pizza into a comforting crunch that feels like a warm hug on a lazy afternoon.
Timing
Prep Time
10 Minutes
Cook Time
12 Minutes
Total Time
22 Minutes
Recipe Details
Ingredients
Main Ingredients
-
01
4 slices of leftover pizza (any flavor)
-
02
1 tbsp olive oil
-
03
2 tbsp grated Parmesan cheese (optional)
-
04
1 tsp dried oregano
-
05
1 tsp dried basil
-
06
A pinch of crushed red pepper (optional)
-
07
Lemon wedge for finishing (optional)
Instructions
Preheat your oven to 425°F (220°C). Place a baking sheet in the oven to heat up while you prepare the pizza.
Cut each pizza slice into bite‑size triangles. Pat them dry with a paper towel to remove excess moisture.
Drizzle the olive oil over the pieces and toss lightly so each piece gets a thin coating.
Arrange the pieces on the pre‑heated sheet, ensuring they don’t touch. Sprinkle Parmesan, oregano, basil, and red pepper if using.
Bake for 8‑10 minutes, watching closely. The cheese should bubble and the edges turn golden‑brown.
Remove the sheet, let the chips rest for a minute, then squeeze a little lemon over them for brightness.
Serve warm with your favorite dip – perhaps a quick marinara or ranch.
Notes & Tips
-
1
If using thick‑crust pizza, you may need an extra minute or two for full crispness.
-
2
A wire rack set over a baking sheet helps air circulate for an even crunch.
-
3
Experiment with different pizza flavors – a BBQ chicken slice makes a sweet‑smoky chip.
Tools You'll Need
-
Baking sheet
-
Wire rack (optional)
-
Paper towels
-
Sharp knife
-
Small bowl for oil
Must-Know Tips
-
Don’t overcrowd the pan, Cook in batches if needed
-
Let the chips sit briefly after baking, Allows steam to escape
-
Taste as you go, Adjust seasoning after baking
Professional Secrets
-
Pre‑heat the baking sheet, Ensures instant sizzle
-
Use a light oil mist, Prevents soggy bottoms
-
Cool on a wire rack, Retains crispness

Recipe by
Isabella MooreFood makes every celebration brighter 🎉🍽️ Creating magical seasonal moments with delicious recipes ✨
Get Delicious Recipes Weekly
Join 25,000+ home cooks getting our best recipes straight to their inbox.
Free forever • No spam • Unsubscribe anytime