
Oreo cookies, introduced in 1912, quickly became an American staple, celebrated for their iconic black‑and‑white design. Their sweet cream filling and chocolate wafer have inspired countless desserts, from truffles to layered cakes. This no‑bake cheesecake cup draws on that legacy, offering a modern, effortless way to enjoy the classic flavor without turning on an oven.
Why You'll Love It
-
- No oven needed, perfect for hot days
-
- Creamy texture that melts in your mouth
-
- Crunchy Oreo base adds satisfying bite
-
- Easy to portion and serve
"These little cups are the perfect balance of creamy and crunchy – my kids can’t get enough!"
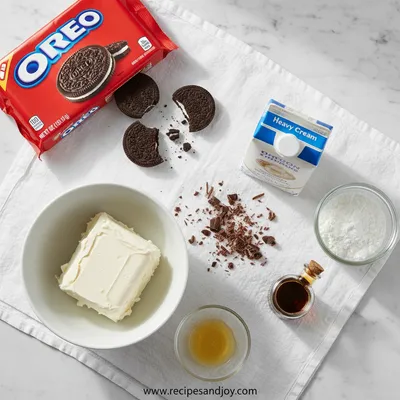
Essential Ingredient Guide
- Oreo cookies: Choose classic chocolate‑cream Oreos; crush them fine for a uniform base.
- Cream cheese: Use full‑fat cream cheese for richness; let it soften before mixing.
- Whipped topping: Adds lightness; fold gently to keep air in the filling.
- Sugar: A touch of granulated sugar balances the tang of cream cheese.
- Lemon juice: A splash brightens the flavor and cuts the sweetness.
- Vanilla extract: Just a dash deepens the aromatic profile.

Complete Cooking Process
-
Ingredient Readiness:
Soften the cream cheese, crush the Oreos, and have all mixing bowls ready before you begin.
-
Flavor Development:
Blend cream cheese with sugar, lemon, and vanilla; the mixture becomes silky and fragrant.
-
Texture Control:
Fold in whipped topping just until combined to keep the filling airy.
-
Finishing Touches:
Layer the crumb base, top with the cheesecake mixture, and garnish with a mini Oreo.
-
Serving Timing:
Chill for at least 30 minutes so the layers set; serve cold for the best bite.
-
Press the crumb base firmly for stability.
-
Use a kitchen scale for consistent results.
-
Add a drizzle of melted chocolate for extra shine.
-
Top with a pinch of sea salt to enhance sweetness.
Pro Tips
I like to let the cups rest after chilling, just to let the flavors settle. It feels like waiting for a sunrise – slow, patient, and worth every moment. The final garnish is optional, but a tiny Oreo half adds that perfect visual cue.
The essence of the dish:
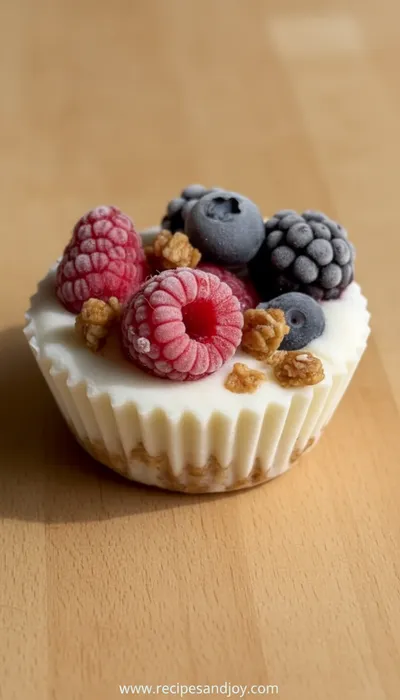
A harmonious blend of buttery Oreo crumbs and velvety cheesecake, offering a contrast of textures that delights the palate.
A fun fact or historical angle:
When the Oreo was first launched, it quickly became a cultural icon, inspiring everything from milk‑shake pairings to elaborate desserts.
Flavor or sensory focus:
Expect a cool, creamy mouthfeel punctuated by the faint crunch of chocolate wafer, finished with a subtle citrus brightness.
You Must Know
-
Use room‑temperature cream cheese to avoid lumps.
-
Do not over‑mix; keep the filling light.
-
Chill long enough for clean slicing.
Frequently Asked Questions
→ Can I use a gluten‑free cookie base?
Yes, substitute gluten‑free chocolate wafers or crush gluten‑free graham crackers for a safe alternative.
→ How long can I store the cups?
Refrigerated in an airtight container for up to 3 days; keep the garnish separate to stay crunchy.
→ Can I add fruit flavors?
Certainly—mix in a spoonful of raspberry puree or layered strawberry slices for a fruity twist.
→ Do I need a stand mixer?
A hand mixer works fine; the goal is to achieve a smooth, airy filling without over‑beating.
→ Is this recipe suitable for vegans?
Swap the cream cheese for a vegan cream cheese and use coconut cream whipped topping; the texture remains delightful.
→ What size cups work best?
Standard 4‑oz ramekins give a perfect single‑serve portion and look charming on a serving tray.
Nutrition Facts
per serving
320
Calories
5g
Protein
28g
Carbs
22g
Fat
Taste Profile
Creamy with a subtle chocolate crunch
Ingredient Substitutions
Don't have an ingredient? Try these alternatives
Choose a brand with a similar tang; adjust sugar if needed.
Provides a light texture and a faint coconut note.
Recipe Variations
Try these delicious twists on the original
Spicy Version
Add a pinch of cayenne and a drizzle of chocolate for a subtle kick.
Mediterranean Style
Swap crushed Oreos for toasted pistachio crumbs and finish with a dash of orange zest.
Common Mistakes to Avoid
Learn from others' mistakes for perfect results
- Over‑mixing the filling, which makes it dense.
- Using cold cream cheese, leading to lumps.
- Not pressing the crust firmly, causing it to crumble.
Meal Prep & Storage
Make Ahead Tips
Prepare the crust and filling a day ahead, keep them separate, and assemble just before serving.
Leftover Ideas
Refrigerate and enjoy within three days; add a fresh crumb topping to restore crunch.
Perfect Pairings
Serve this with...
Cooking Timeline
Crush Oreo cookies and melt butter; press crust into ramekins.
Beat cream cheese, sugar, lemon, and vanilla until smooth.
Fold whipped topping into cheese mixture gently.
Fill ramekins with the cheesecake mixture and smooth tops.
Chill in refrigerator; garnish before serving.
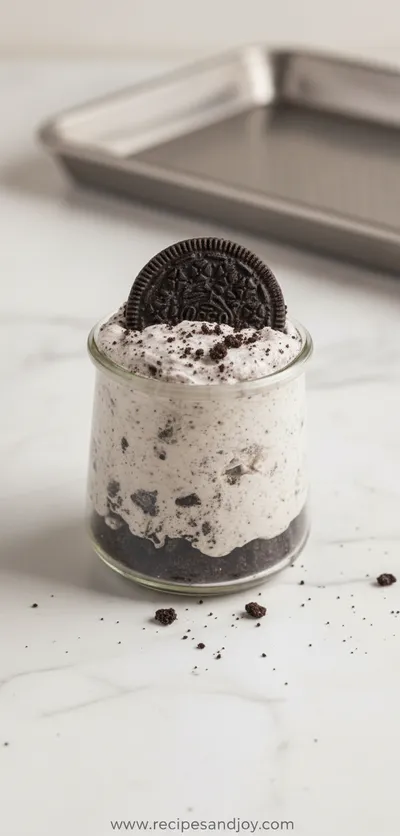
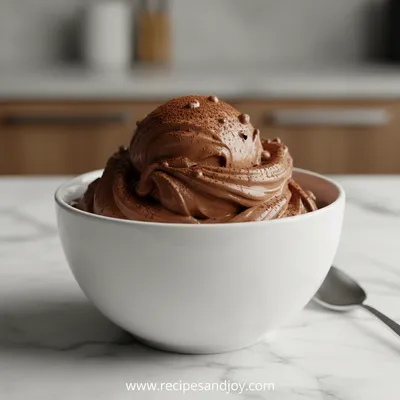
Oreo No-Bake Cheesecake Cups
These Oreo No-Bake Cheesecake Cups are a whisper of cream and crunch, perfect for a quick indulgence. The mini cheesecakes vibe meets a cookie crumble, all ready in minutes.
Timing
Prep Time
15 Minutes
Cook Time
0 Minutes
Total Time
45 Minutes
Recipe Details
Ingredients
Crust
-
01
2 cups Oreo cookies, finely crushed
-
02
3 tbsp melted butter
Filling
-
01
8 oz cream cheese, softened
-
02
1/4 cup granulated sugar
-
03
2 tbsp lemon juice
-
04
1 tsp vanilla extract
-
05
1 cup whipped topping
-
06
Optional: oreo balls for garnish
Instructions
Combine crushed Oreos with melted butter; press the mixture into the bottom of each ramekin, creating an even base.
In a bowl, beat the softened cream cheese with sugar until smooth, then stir in lemon juice and vanilla.
Fold the whipped topping into the cheese mixture gently, preserving the airy texture.
Spoon the cheesecake filling over the crust, smoothing the top with a spatula.
Refrigerate for at least 30 minutes, then garnish with a mini Oreo or a drizzle of melted chocolate.
Notes & Tips
-
1
Make sure the cream cheese is fully softened to avoid lumps.
-
2
Do not over‑mix the filling; it should stay light and fluffy.
-
3
For a richer flavor, add a teaspoon of espresso powder to the crust mixture.
Tools You'll Need
-
Food processor or zip‑top bag for crushing cookies
-
Measuring cups and spoons
-
Mixing bowls
-
Hand mixer or whisk
-
8‑oz ramekins
Must-Know Tips
-
Don't overcrowd the pan, Cook in batches ...
-
Let meat rest, Allows juices ...
-
Taste as you go, Adjust seasoning ...
Professional Secrets
-
Room temperature ingredients, Ensures even cooking
-
High heat for searing, Creates the perfect crust
-
Deglaze the pan, Captures all the flavor

Recipe by
Lily AndersonLife is sweeter with dessert 🍰💕 Baking joy, spreading smiles, and loving every sprinkle ✨
Get Delicious Recipes Weekly
Join 25,000+ home cooks getting our best recipes straight to their inbox.
Free forever • No spam • Unsubscribe anytime