
The history of sweet cream ice cream stretches back to 18th‑century England, where farmers would churn leftover cream into a frosty treat for laborers. I mean, the simple joy of turning milk into something so smooth has always been a comfort. I recall watching my grandmother whisk cream over an old ice‑water bath, the kitchen filling with a gentle, sweet aroma—oh, the nostalgia! It’s a tradition that survived, and now we honor it with a modern, no‑ice‑machine method that still feels hearty.
Why You'll Love It
-
- Incredibly smooth without an ice cream maker
-
- Simple pantry ingredients you already have
-
- Lightly sweet, perfect for any palate
-
- Versatile base for toppings or swirls
"The texture is like a soft snow‑kiss, and the flavor lingers gently. My kids can’t get enough!"
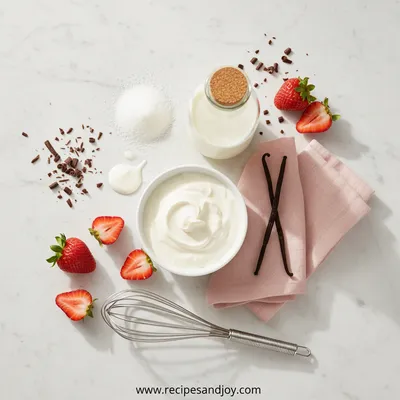
Essential Ingredient Guide
- Heavy cream: Choose a high‑fat cream for richness; it creates the velvety mouthfeel.
- Whole milk: Whole milk balances the cream, keeping the texture from becoming too dense.
- Honey: Adds a floral sweetness that pairs beautifully with vanilla.
- Vanilla bean: Use a split bean for deep flavor, or pure vanilla extract for convenience.
- Lemon juice: A splash brightens the mixture and helps prevent icy crystals.
- Pinch of salt: Enhances the overall sweetness without being noticeable.

Complete Cooking Process
-
Ingredient Readiness:
Measure and chill all dairy ingredients; whisk together sugar, honey, and vanilla until dissolved.
-
Flavor Development:
Gently heat the mixture with lemon juice, allowing the flavors to meld without boiling.
-
Texture Control:
Cool the base in an ice bath, then churn in a freezer‑safe container, folding in air every half hour.
-
Finishing Touches:
Once thickened, cover and freeze for at least 4 hours; serve with fresh berries or a drizzle of caramel.
-
Serving Timing:
Let the ice cream sit at room temperature for 5 minutes before scooping for the smoothest texture.
-
Freeze the mixing bowl beforehand for quicker chill.
-
Stir gently to incorporate air without forming foam.
-
Taste the base before freezing; adjust sweetness if needed.
Pro Tips
Well, these small steps make a big difference. I remember once I skipped the ice‑bath chill and ended up with a grainy scoop—oops! So, a quick chill saves you that disappointment. Also, keep the container airtight; the freezer can dry out the surface if left open.
The essence of the dish:
It’s all about the balance of creamy dairy and subtle sweetness, giving each bite a melt‑in‑your‑mouth feel.
A fun fact or historical angle:
In the early 1900s, home‑made ice cream was a status symbol; families would showcase their “ice cream churn” at gatherings.
Flavor or sensory focus:
You’ll notice a silk‑like smoothness, a whisper of vanilla, and a gentle honeyed glow that lingers long after the spoon is set down.
You Must Know
-
Use cold ingredients
-
Stir regularly while freezing
-
Do not over‑freeze before serving
Frequently Asked Questions
→ Can I use low‑fat milk?
You can, but the texture will be less creamy and may develop icier crystals.
→ Do I need an ice cream maker?
No, this recipe uses a simple freezer method with periodic stirring.
→ How long can I store it?
Keep it sealed in the freezer for up to two weeks; let it soften before serving.
→ Can I add mix‑ins?
Absolutely—try chocolate chips, toasted nuts, or fruit swirls after the base is set.
→ What if I don’t have honey?
Maple syrup or agave work fine, just adjust the amount to taste.
→ Is the recipe gluten‑free?
Yes, there are no gluten ingredients in this sweet cream ice cream.
Nutrition Facts
per serving
260
Calories
3g
Protein
24g
Carbs
18g
Fat
Taste Profile
A buttery vanilla sweetness with a silky finish.
Ingredient Substitutions
Don't have an ingredient? Try these alternatives
Will add a faint coconut note; adjust sweetness accordingly.
Provides a different depth of flavor; use slightly less as it’s more liquid.
Recipe Variations
Try these delicious twists on the original
Spicy Version
Add a pinch of ground cinnamon and a dash of cayenne for a warm, subtle heat.
Mediterranean Style
Stir in toasted pistachios and a drizzle of honey‑orange glaze after the final freeze.
Common Mistakes to Avoid
Learn from others' mistakes for perfect results
- Over‑heating the base, which can cause graininess.
- Skipping the regular stirring, leading to icy crystals.
- Leaving the container uncovered in the freezer, causing freezer burn.
Meal Prep & Storage
Make Ahead Tips
You can prepare the ice cream base up to 24 hours ahead; store it chilled and churn when ready.
Leftover Ideas
Scoop into a sealed container and let it soften for a few minutes before enjoying again.
Perfect Pairings
Serve this with...
Cooking Timeline
Gather and measure all ingredients; split vanilla bean.
Whisk dairy, honey, sugar, and salt together; heat gently.
Add vanilla and lemon juice; remove from heat and cool.
Cool in ice bath, stirring occasionally; then begin freezing, stirring every 30 minutes.
Continue intermittent stirring until thick; final freeze for at least 4 hours.
 Sweet Treats & Desserts
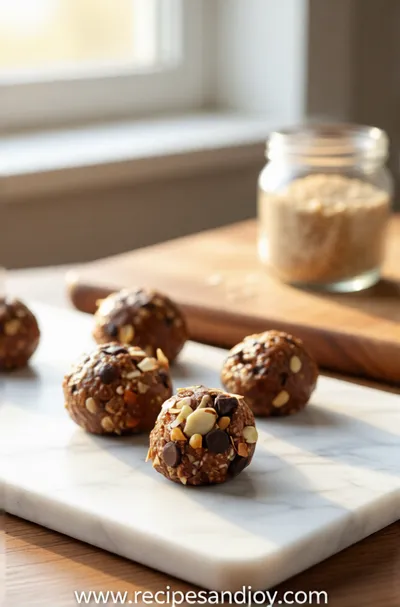
No-Bake Protein Energy Balls – Easy Healthy Snack
A simple, no‑bake bite of protein‑packed goodness you can carry anywhere.
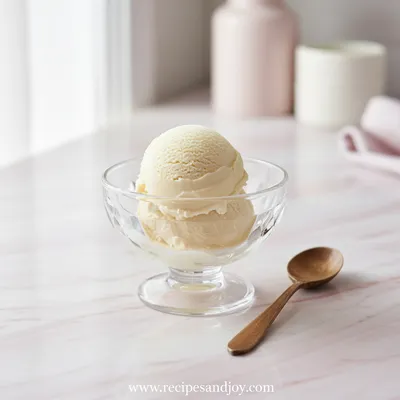
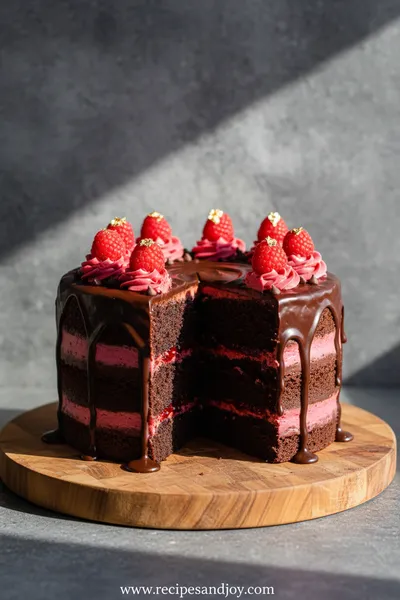
Sweet Cream Ice Cream
A luxuriously smooth sweet cream ice cream that feels like a cloud of buttery vanilla, perfect for a quiet evening or a celebration.
Timing
Prep Time
15 Minutes
Cook Time
10 Minutes
Total Time
4 Hours 30 Minutes
Recipe Details
Ingredients
Base
-
01
2 cups heavy cream
-
02
1 cup whole milk
-
03
1/2 cup honey
-
04
1/4 cup sugar
-
05
1 vanilla bean, split and scraped (or 2 tsp vanilla extract)
-
06
1 tbsp fresh lemon juice
-
07
Pinch of salt
Instructions
In a saucepan, whisk together milk, cream, honey, sugar, and a pinch of salt until the sugar dissolves.
Add the vanilla seeds (or extract) and lemon juice, then warm over medium heat just until steam rises – do not boil.
Remove from heat, let cool for a few minutes, then pour into a shallow metal pan and place in an ice bath, stirring occasionally.
Once the mixture is lukewarm, cover and freeze. Every 30 minutes, stir vigorously with a fork or whisk to break up ice crystals, repeating for about 2‑3 hours.
After the texture is thick and creamy, transfer to an airtight container, smooth the top, and freeze for at least 4 more hours before serving.
Notes & Tips
-
1
For extra silkiness, strain the mixture through a fine‑mesh sieve before chilling.
-
2
If the ice cream becomes too hard, let it sit at room temperature for 5‑7 minutes before scooping.
-
3
A light drizzle of caramel or fresh berries adds a lovely contrast.
 Sweet Treats & Desserts
Healthier Hot Chocolate Recipe
Learn how to make a delicious healthier hot chocolate that's perfect for a cozy warm beverage.
Tools You'll Need
-
Saucepan
-
Whisk
-
Sharp knife (for vanilla bean)
-
Shallow metal pan
-
Ice bath container
-
Fork or spatula
-
Airtight freezer‑safe container
Must-Know Tips
-
Don’t let the base boil, it can affect texture.
-
Stirring at regular intervals prevents large ice crystals.
-
Store in a sealed container to avoid freezer burn.
Professional Secrets
-
Use room‑temperature dairy for even chilling.
-
Add a pinch of corn syrup to inhibit crystallization.
-
Finish with a quick, high‑speed whip just before the final freeze.

Recipe by
Lily AndersonLife is sweeter with dessert 🍰💕 Baking joy, spreading smiles, and loving every sprinkle ✨
Get Delicious Recipes Weekly
Join 25,000+ home cooks getting our best recipes straight to their inbox.
Free forever • No spam • Unsubscribe anytime